
It’s been common knowledge for many years that your practice website’s written content — both the quality of that content and the volume of it — can make or break your positioning on the search engines. Too little content, or content that isn’t unique can put your website near the bottom of the search engines. In other words, your prospective patients will find your competitors before they find you.
However, there is a second issue at play with your website that, unfortunately, many cosmetic physicians don’t think enough about and that’s the quality and volume of your before and after photos.
Think about it this way: the written content on your website enables the search engine spiders/bots to understand your business relative to other websites in a similar geographic area. Once your prospective patients find your website, they need to identify whether or not your practice is the right one for them. How do they do this? To a large degree, it’s done via your photo gallery. A photo gallery is interactive and keeps users engaged on your website. And, if you have an excellent display of impressive results, a photo gallery could be responsible for increasing your conversion rate.
We’d like to think that prospective patients are enraptured by our content, but the truth is, people in our society aren’t readers: they are watchers! Let’s give them the best experience possible!
10 Tips for a Superior Before & After Photo Gallery
#1: Shoot Your Before and After Photos in High Res
While it’s true that you only need 72 dpi for photos on the web, shooting at the highest resolution makes it easy to re-purpose photos in print materials like brochures, flyers, etc.
#2: Don’t Forget the Light!
Be sure to light your space so that your photos look uniform and natural. Remember that you should never use a filter to change the quality of your photos, even if it’s just to fix or improve your lighting issues.
#3: Simplify the Background
The background must always be the same and it must always be neutral. Make sure that there are no doorknobs or doorways visible behind the patient. Hang up a sheet or designate a specific space that is already pre-set for taking photos.
#4: Distance Does Matter
The distance from the camera to the featured body part(s) should also be consistent. Placing tape on the ground can assist your staff with remembering where to position the patient and where they should be standing when taking the photo.
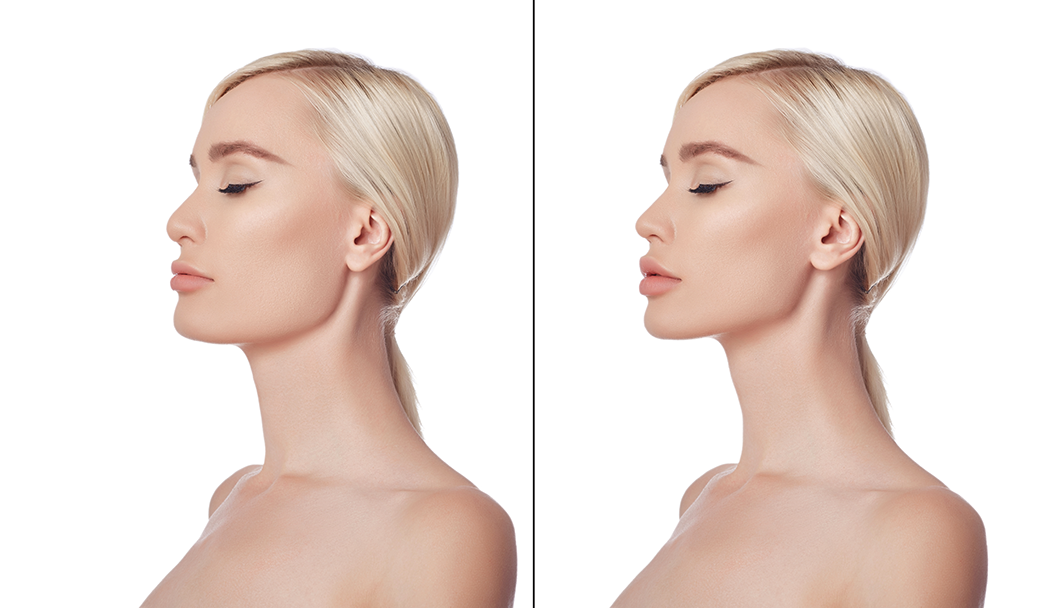
#5: The Importance of Angles
Every angle pictured before surgery should have a matching angle shot after surgery. It would be tragic to have an amazing after-photo shot of the patient’s left profile that is magazine worthy, and not have a matching before pose to go with it. Always have your patients pose in the same angles for a consistent gallery. PUMC recommends the following: front, left side, right side, and back (if applicable for results).
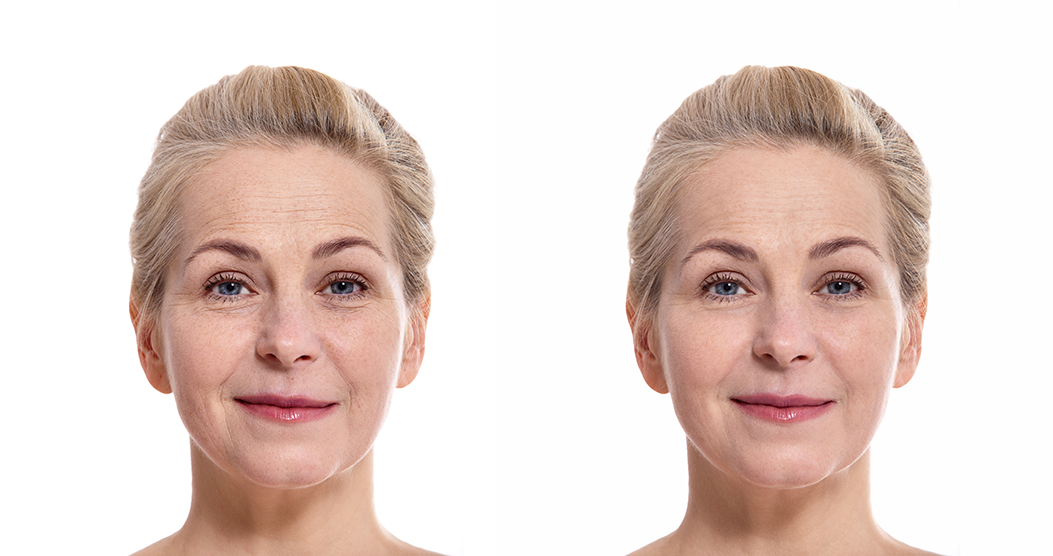
#6: Ditch the Makeup in Before & After Facial Photos
Makeup trends are always changing. You will “age” your before and after images if you allow patients to apply makeup prior to taking their before and after images. Furthermore, patients are suspect of after photos in which women wear makeup. Let patients see your work, not the Lancôme.
#7: What You Should Cover Up
In general, patients do not want their identity revealed in your before and after gallery. Always request that a patient remove their jewelry. However, if they don’t want to, remember that it may come back to haunt you since it could be used to recognize the patient at a later date. Tattoos, personal jewelry, and any identifying scars or birthmarks should be covered up without the patient having to ask. Just ask your developer when you send the photos for uploading on your website. Furthermore, most social media sites don’t let you post before and after photos that contain visible nipples. Expand your ability to share more photos on social media by always covering identifying birthmarks or tattoos, and nipples when taking both before and after shots. Just be sure to make it look tasteful when you do it.
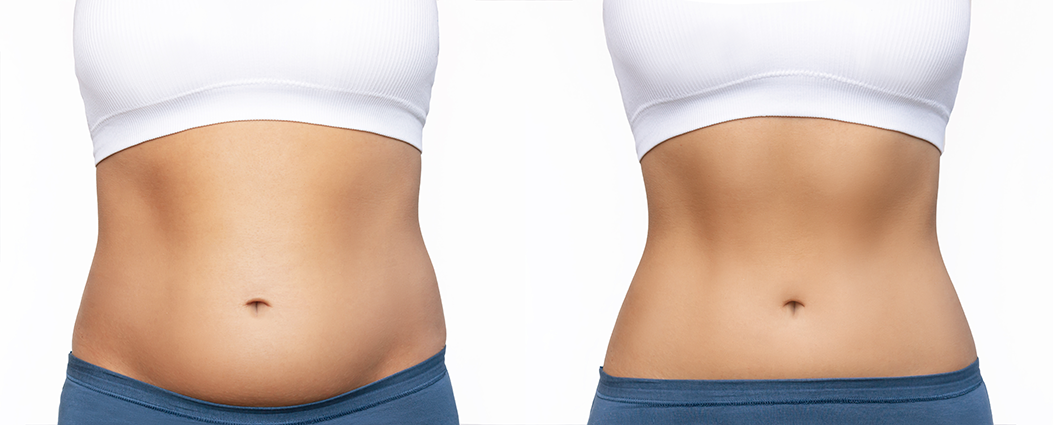
#8: Don’t Ignore Non-Surgical Patients In Your Photo Gallery!
Both men and women want to see skin treatments (IPL, chemical peels) and injectables (Botox, fillers, etc.). These treatments are both a steppingstone to more cosmetic surgical options and some of the most frequented treatments in any cosmetic surgery practice. A superior Before & After Photo gallery is in your reach.
#9: Watermarks Protect your Brand
A small watermark added to the right-hand bottom corner of your before and after photos will identify ownership of your work and protect your brand from being misused. Logos or a signature are best. PUMC recommends that watermarks have some level of transparency so that they will be visible, but not covering or distracting from your results.
#10: Let Professionals Crop Your Photos
If you are sending your before and after photos to a web developer or social media professional, send your high-resolution photos without cropping them first. This will allow the professionals to crop and set the photos’ width and height respective to your gallery or social media channel’s specifications. If you want your results to be displayed in a particular way, send them an example image showing how you want them to look.
A Picture-Perfect Photo Gallery – Create a Superior Before & After Photo Gallery
Now that you know how to create an amazing gallery that will improve your conversion rate, just remember that the patients whose images will be posted publicly must sign a release allowing your business to use their photos for marketing purposes. Also, be sure that your office staff follows HIPAA privacy regulations whenever sharing patient photo files with your web developer or social media professional. An internal numbering system private to your office to identify patient photo files would be best. Contact Us